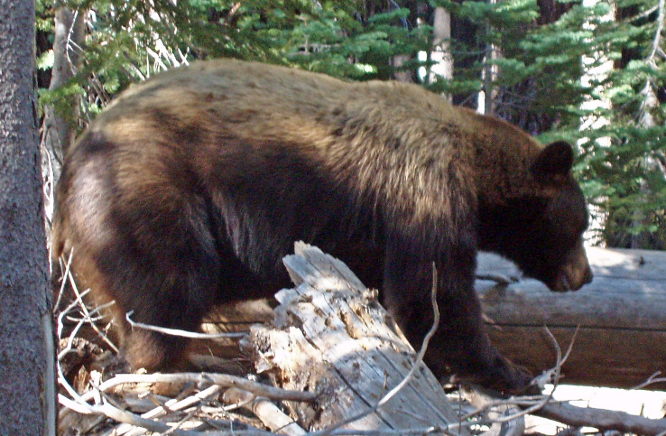
Note how detail in the head is lost to the shadow. But we can't just lighten the photo since that will make the highlights even more blown out. One thing we can do to save this photograph is to employ a contrast mask. Here's how (using Gimp:
Step one: after loading the photo into Gimp select Duplicate Layer from the layer menu.
Step two: select desaturate from the Colors menu. This will turn the new layer into black and white:
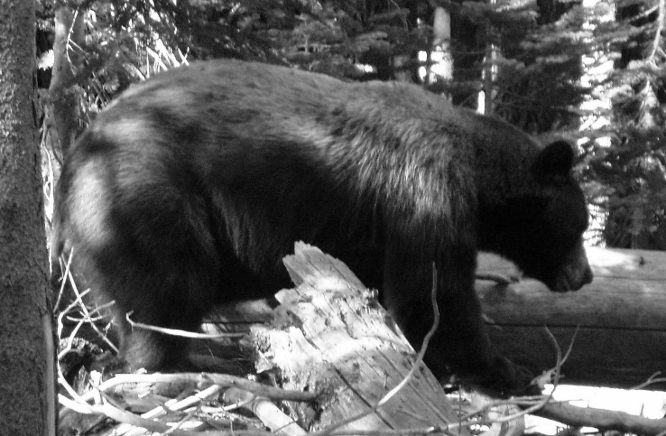
Step three: select Invert from the Colors menu. You will now have a black and white negative.
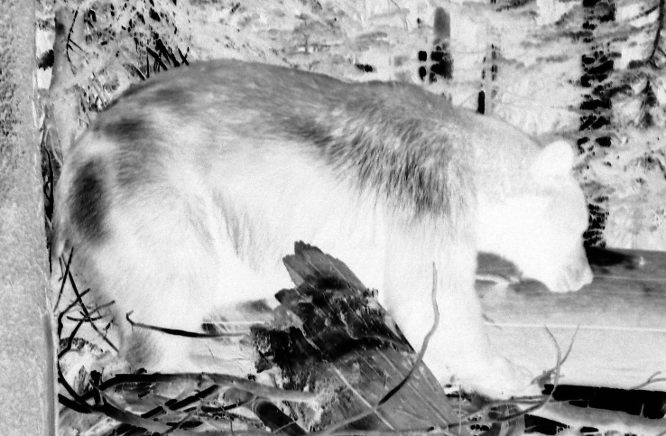
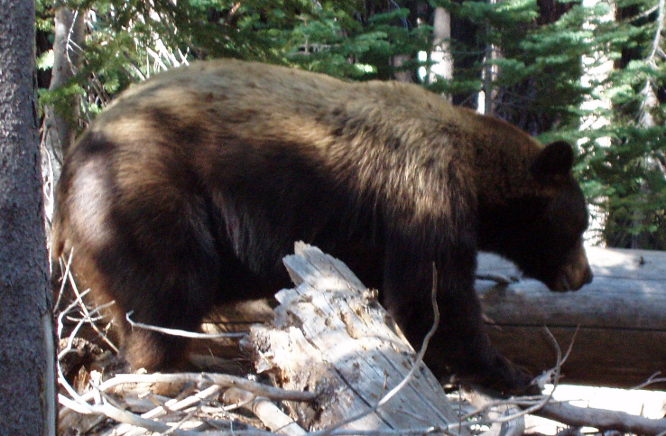
Step four: now comes the magic. Bring up the Layers toolbox by typing ctrl-L. You wil see that the current layer mode is Normal. Using the drop down box change the mode to Overlay and note how the image contrast has been reduced:

Step five: the image contrast has been reduce but still lacks sharpness. Find Gausian Blur under the Filters menu (often in the Blurs submenu) and apply a blur value of 20. This will sharpen the image in a manner similar to the unsharp mask:
